![]()
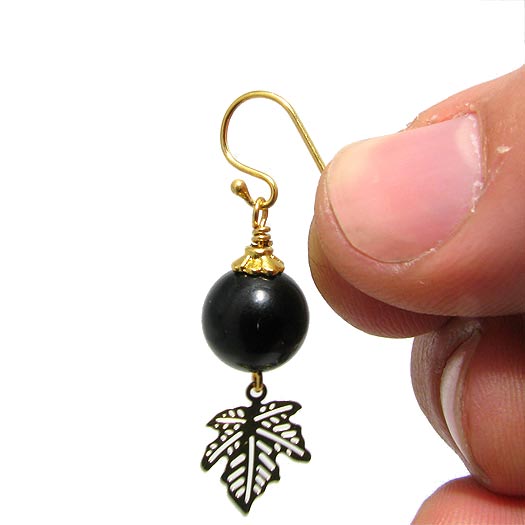
Making the famous “loop” over a pearl or bead – this is how you do it.
Here we show you how to make a pair of classic earrings with the well-known loop or eyelet as a finish on top of the pearl or bead. Of course, there are a couple of techniques around, but the one explained here is our favourite. Have patience and be prepared for that your first 5-10 attempts might not turn out as well as you would wish. You will probably have to throw a few headpins away, but keep trying. After a while, you will be able to make an earring within five minutes. That’s not bad, is it?
If you are a beginner, we recommend Smyks’ beginner’s set for making your first earrings. Included you will find everything you need to start your new hobby. Click here to buy the beginner’s earring set.
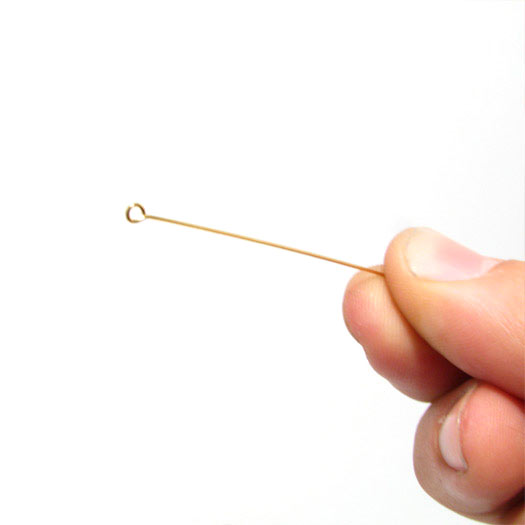
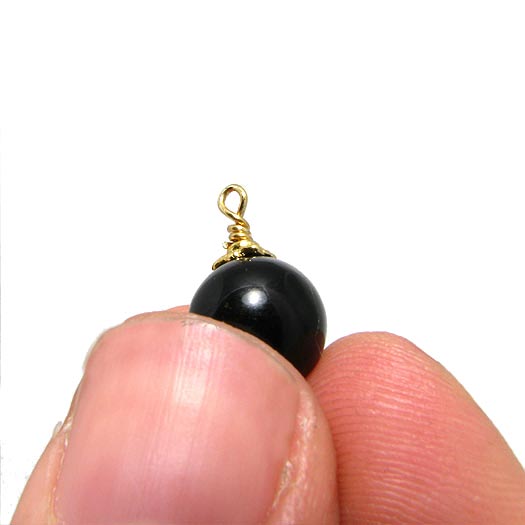
First you take a headpin. In our example we use a sturdy eyepin made of gilded brass. The diameter of the wire is 0.75mm. The thinner the headpin, the easier it is to work with it. The bead in the pictures is a black onyx bead with a diameter of 10mm.
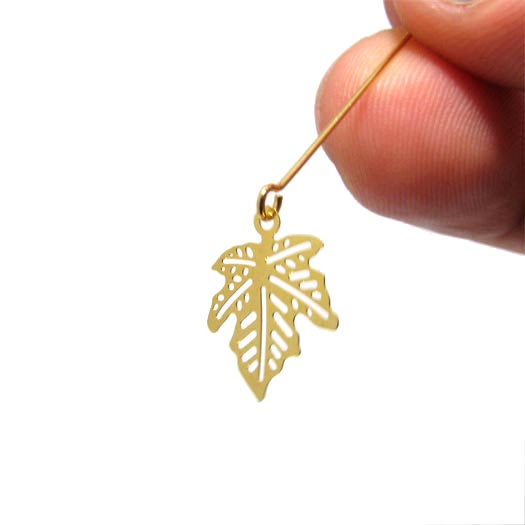
Unfortunately, the gilded leaflet you see in the pictures is not available any more, but here you can find similar filigree pendants.
Click here for the earwires, and here for the jewellery tool kit.
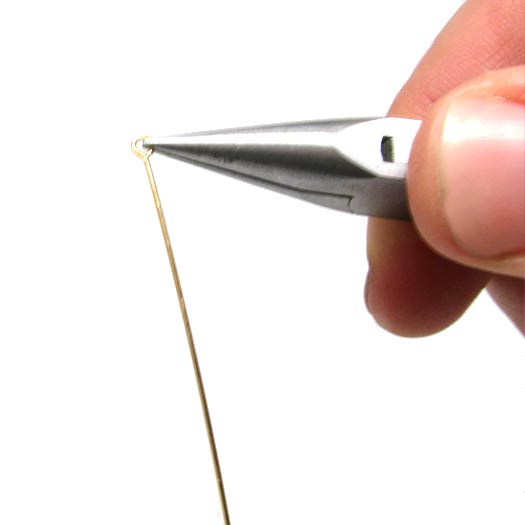
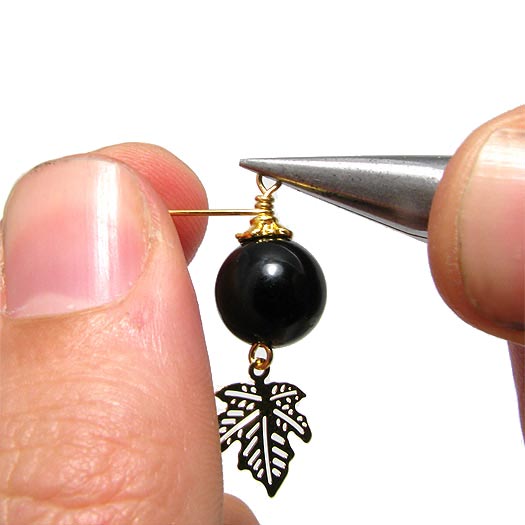
Open the eyelet with the chain-nose pliers.
Insert the pendant and close the eyelet again.
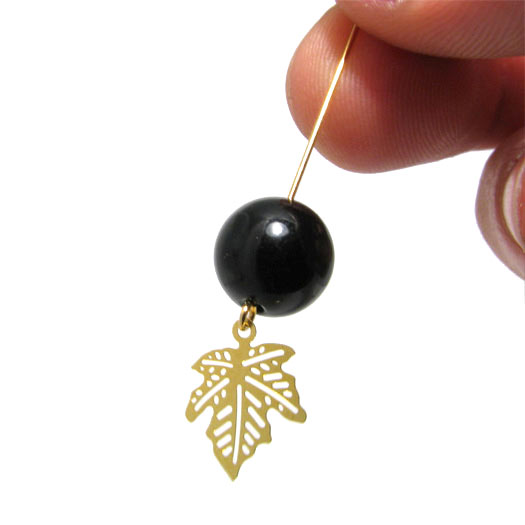
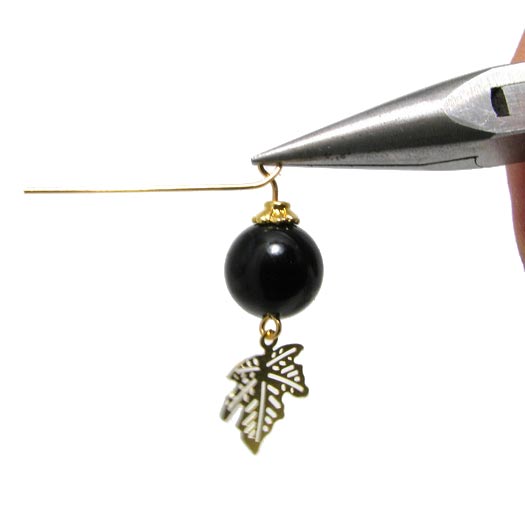
String the bead or pearl on the headpin itself.
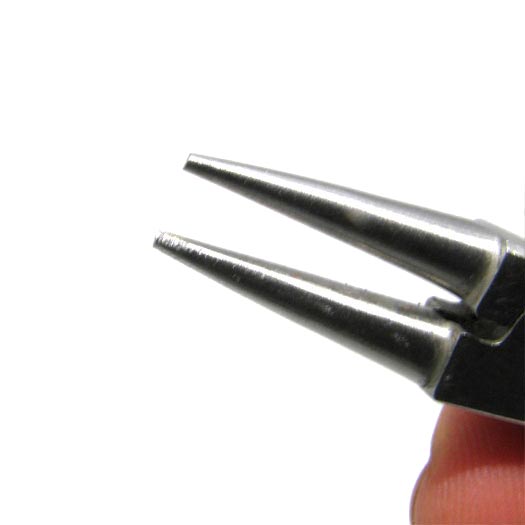
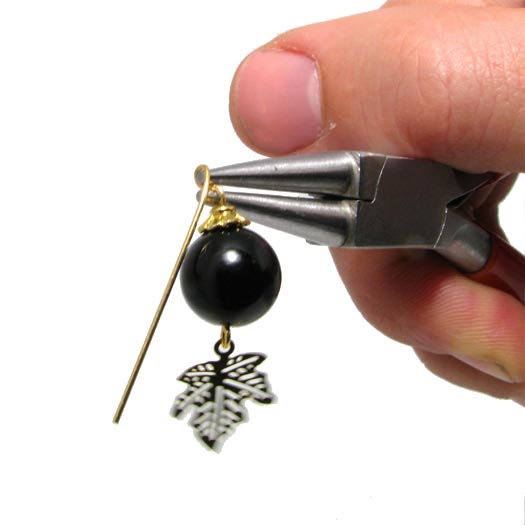
Now, take the round-nose pliers (the ones with the two cone-shaped jaws).
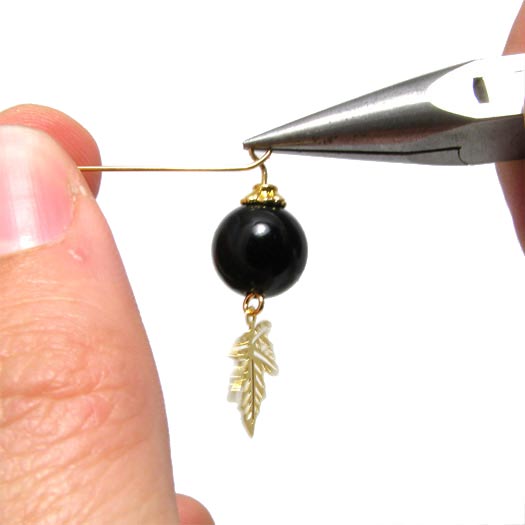
Grip the headpin with the pliers ca. 2 mm above the lowest bead.
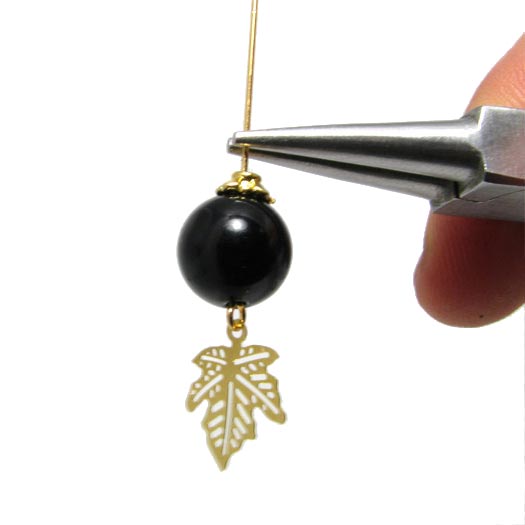
Keep the bead in its position and bend the pin with the pliers until the pin is bent at an angle of 90 degrees.
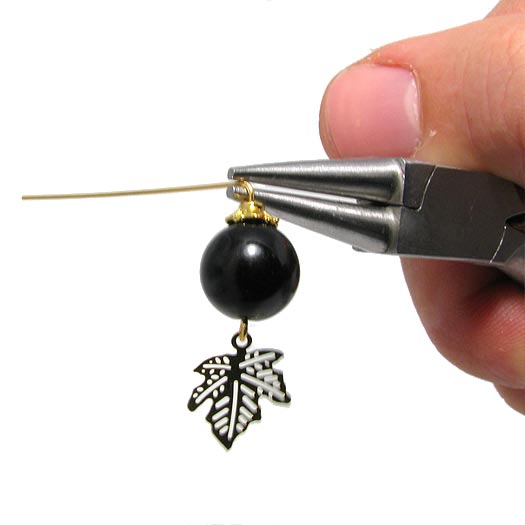
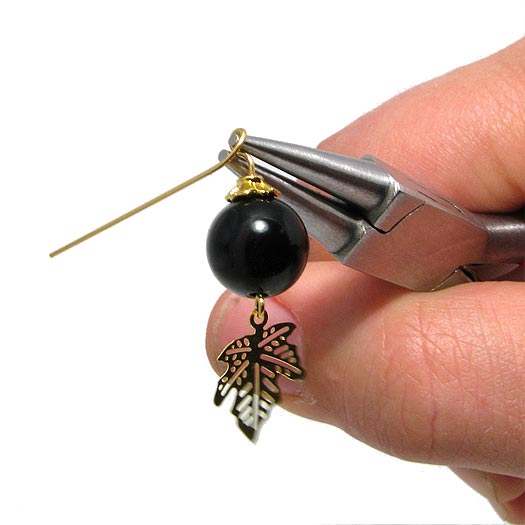
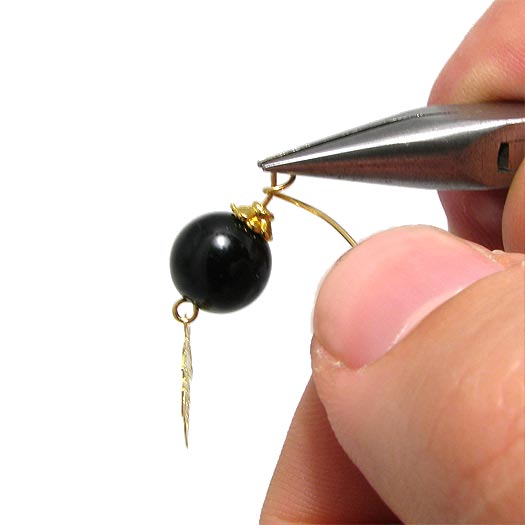
Keep holding the pliers in the same position while you grab the tip of the headpin with your thumb and indicator. Turn the headpin up and then around the pliers’ upper jaw.
Turn the pin around the jaw, while you hold the pliers tight around the headpin.
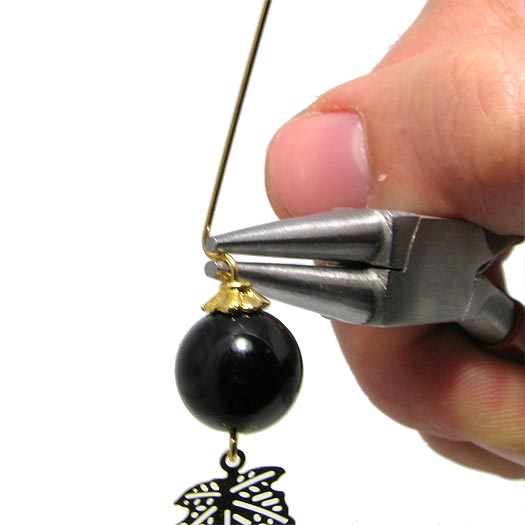
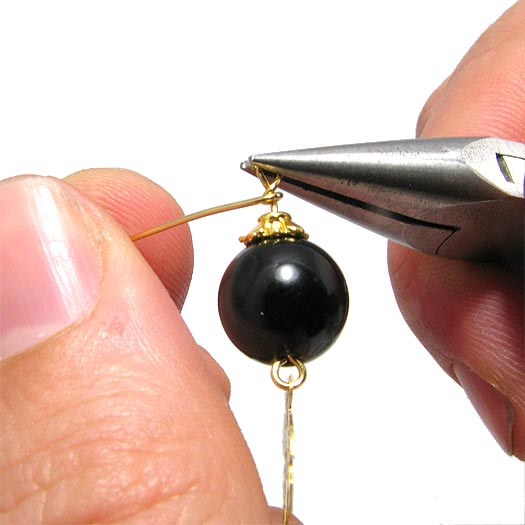
When you are nearly done with a 360 degree rotation, you grip the bead again with your fingers and use the pliers to bend the pin up the last bit, until it again comes to a hold at an angle of 90 degrees (see picture). Do not let go the pliers yet!
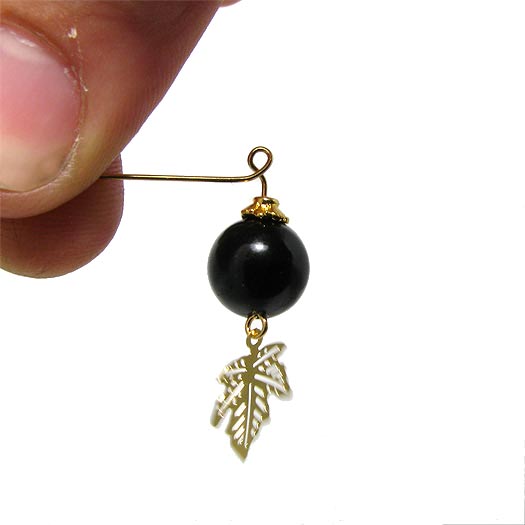
Now you can let go the pliers and admire your lovely loop.
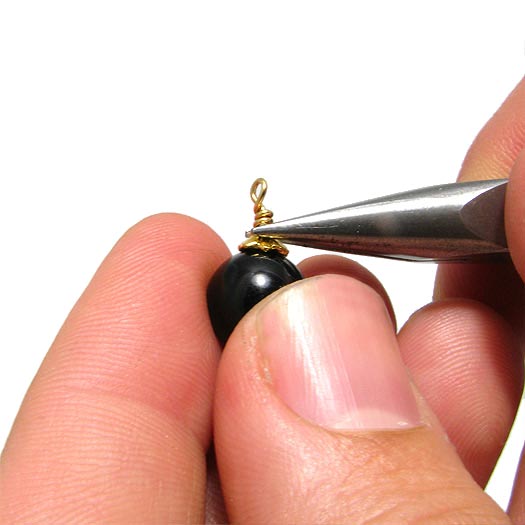
Now, take the chain-nosed pliers.
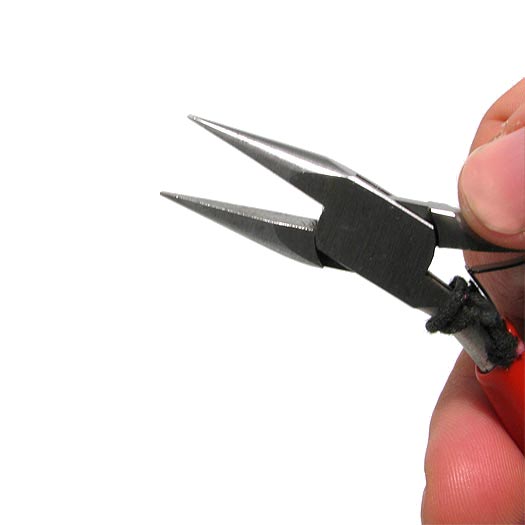
Grab the loop tightly with the chain-nosed pliers as shown in the picture.
Hold the tip of the headpin again with your thumb and indicator.
Keep the pliers in the same position, so far as it is possible, and wind the wire around the part of the headpin underneath the loop.
... keep winding …
... and winding ...

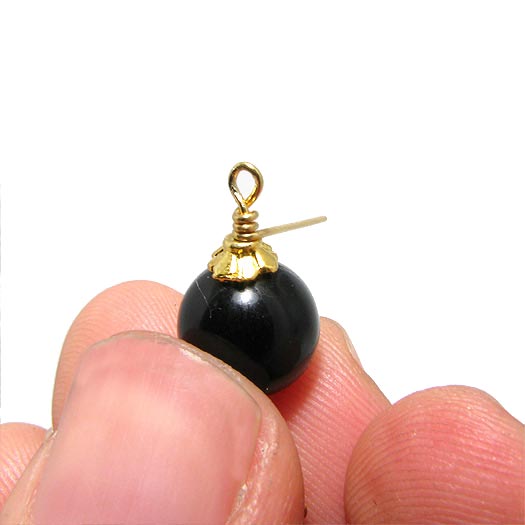
... until the windings reach down to the upper bead.
After that, the redundant piece of the headpin has to be removed in an elegant way.
Take good side-cutter pliers which come close to the windings.
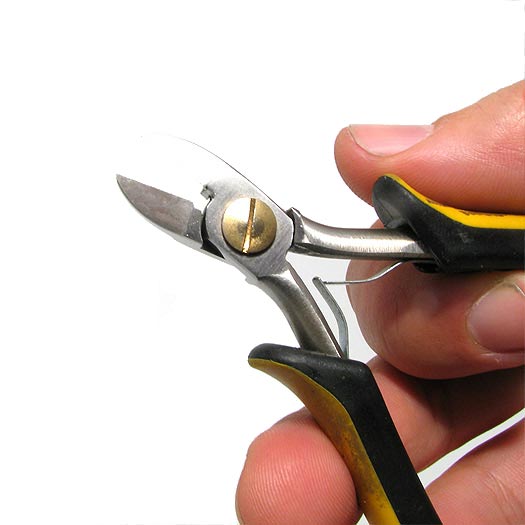
Cut the excess piece of the wire off.
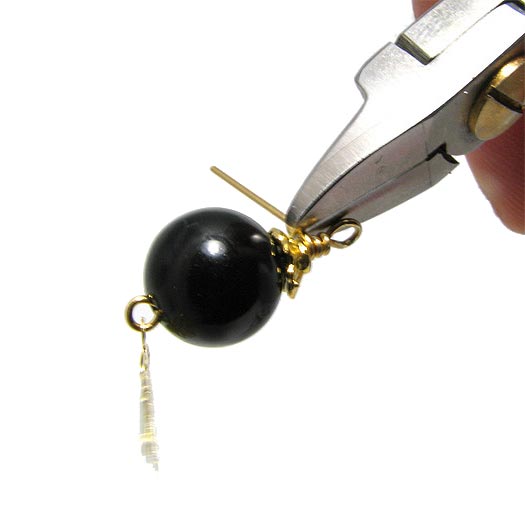
There will still be a little piece sticking out.
Use the chain-nosed pliers to tuck this remaining piece under the windings so it is hidden.
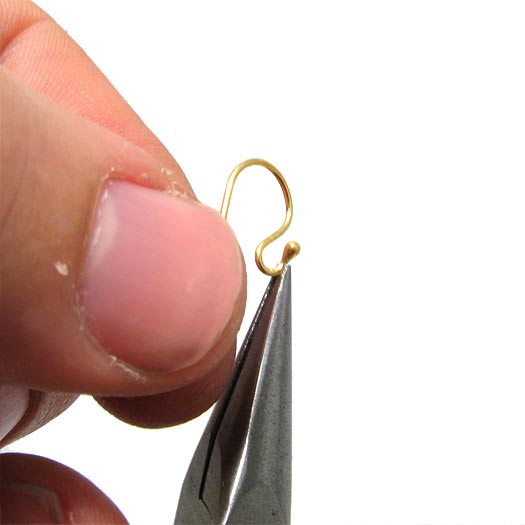
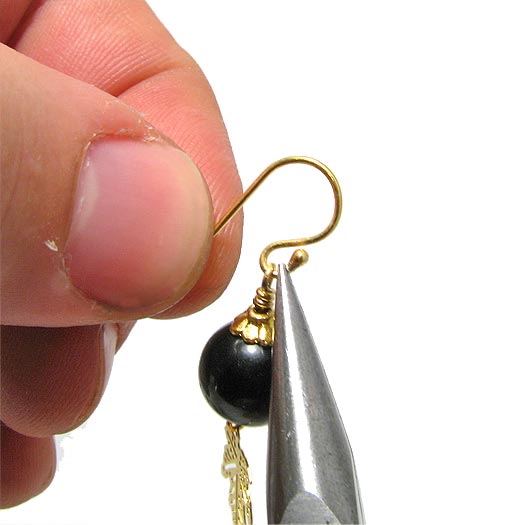
Once the bead is provided with a loop, you can look for pretty earwires or hoops to hang it on. For our example, we chose classic S-shaped earwires with a ball. You simply open the wire a bit so you can insert the loop.
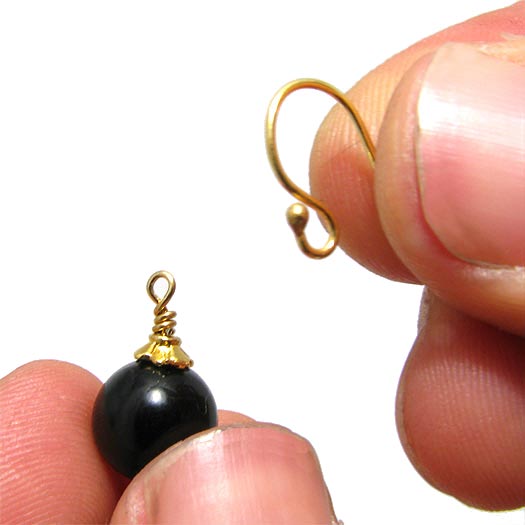
String the loop on the earwire from the end without the ball. It is a good idea to make sure that the loop is small enough not to slip over the ball.
Nearly done.
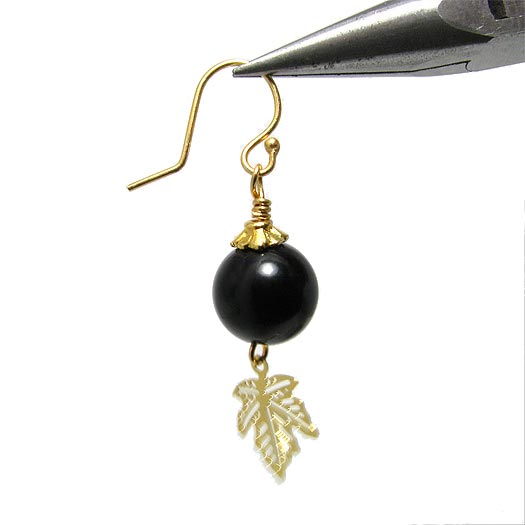
Now you just have to close the earwire again.
And this is how the earring looks like once it is finished.
... and from the other side.
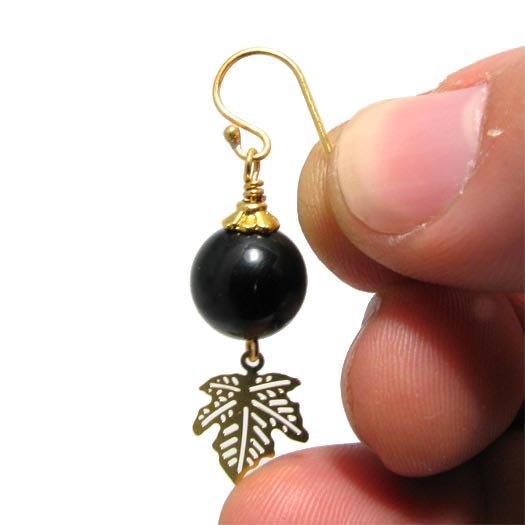
Now the bead is provided with a loop and can be used as a pendant.
© smyks.dk 2007
All rights reserved.